


At Project Home DIY, we LOVE using mesh stencils to enhance the projects we create on a monthly basis. Once you practice a bit with them, they are easy and fun to use! Taking a few extra minutes when you're finished with your project and properly caring for your mesh stencils can make them last longer and be reusable!

Caring for your Mesh Stencils #1: Cleaning
- You do not want to ever leave paint on your stencil to dry. This will make it a one-time use stencil and these are made to be REUSABLE. :-)
PRO TIP:
While you're still in the middle of creating your DIY Project, place a small tub of room temp water next to you. When you're done using a stencil, just place it in the tub of water until you have time to properly clean the paint off. Nobody wants to stop the fun part of crafting to go clean up. LOL!
- Do NOT leave your stencils sitting in water for really long periods of time (like all day or over night). Clean them off as soon as you have finished working on your project for the day. Leaving them soaking for too long can remove the adhesive on the back of the stencil when you go to rub and clean them.
- Use warm, not hot, water and a tiny bit of dish or hand soap to clean off the paint from your stencil if it's being stubborn.
PRO TIP:
Get as much of the paint off as you can by gently rubbing with your fingers under the running water in the sink. Once that's done, gently use a Magic Eraser to remove any remaining paint/color from the stencil...especially the mesh sections.
- Do not worry if the colored (non-mesh) part of the stencil looks 'stained'. As long as the paint is off, you'll be fine. Sometimes darker/bolder colors stain the stencil. But it will be fine to use again.
- Do NOT wrinkle, wring, twist, scrunch up or fold your stencils. This will cause them to be misshaped and no longer reusable.
- Do NOT rub too hard when cleaning off the back of the stencil as this may remove the adhesive.
- Use a Microfiber towel to blot excess moisture from your stencils and let air dry for a bit. Once the stencil is just a tiny bit damp, stick it back on the shiny side of the backing paper it came on.
PRO TIP:
If you're having trouble re-sticking your stencil to the backing paper, try using a Lysol wipe to gently clean off the backside of the stencil. Again, don't rub super hard as this can remove the adhesive. Once, you use the Lysol wipe, you should be able to adhere to the backing paper.
- Make sure stencils are completely dry before placing in any kind of storage containers.
Caring for your Mesh Stencils #2: Storage
It is best to store your clean stencils flat and on their original backing paper. Do not ever fold your stencils. This will cause them to pucker on the folds when you're using them and the paint will bleed.
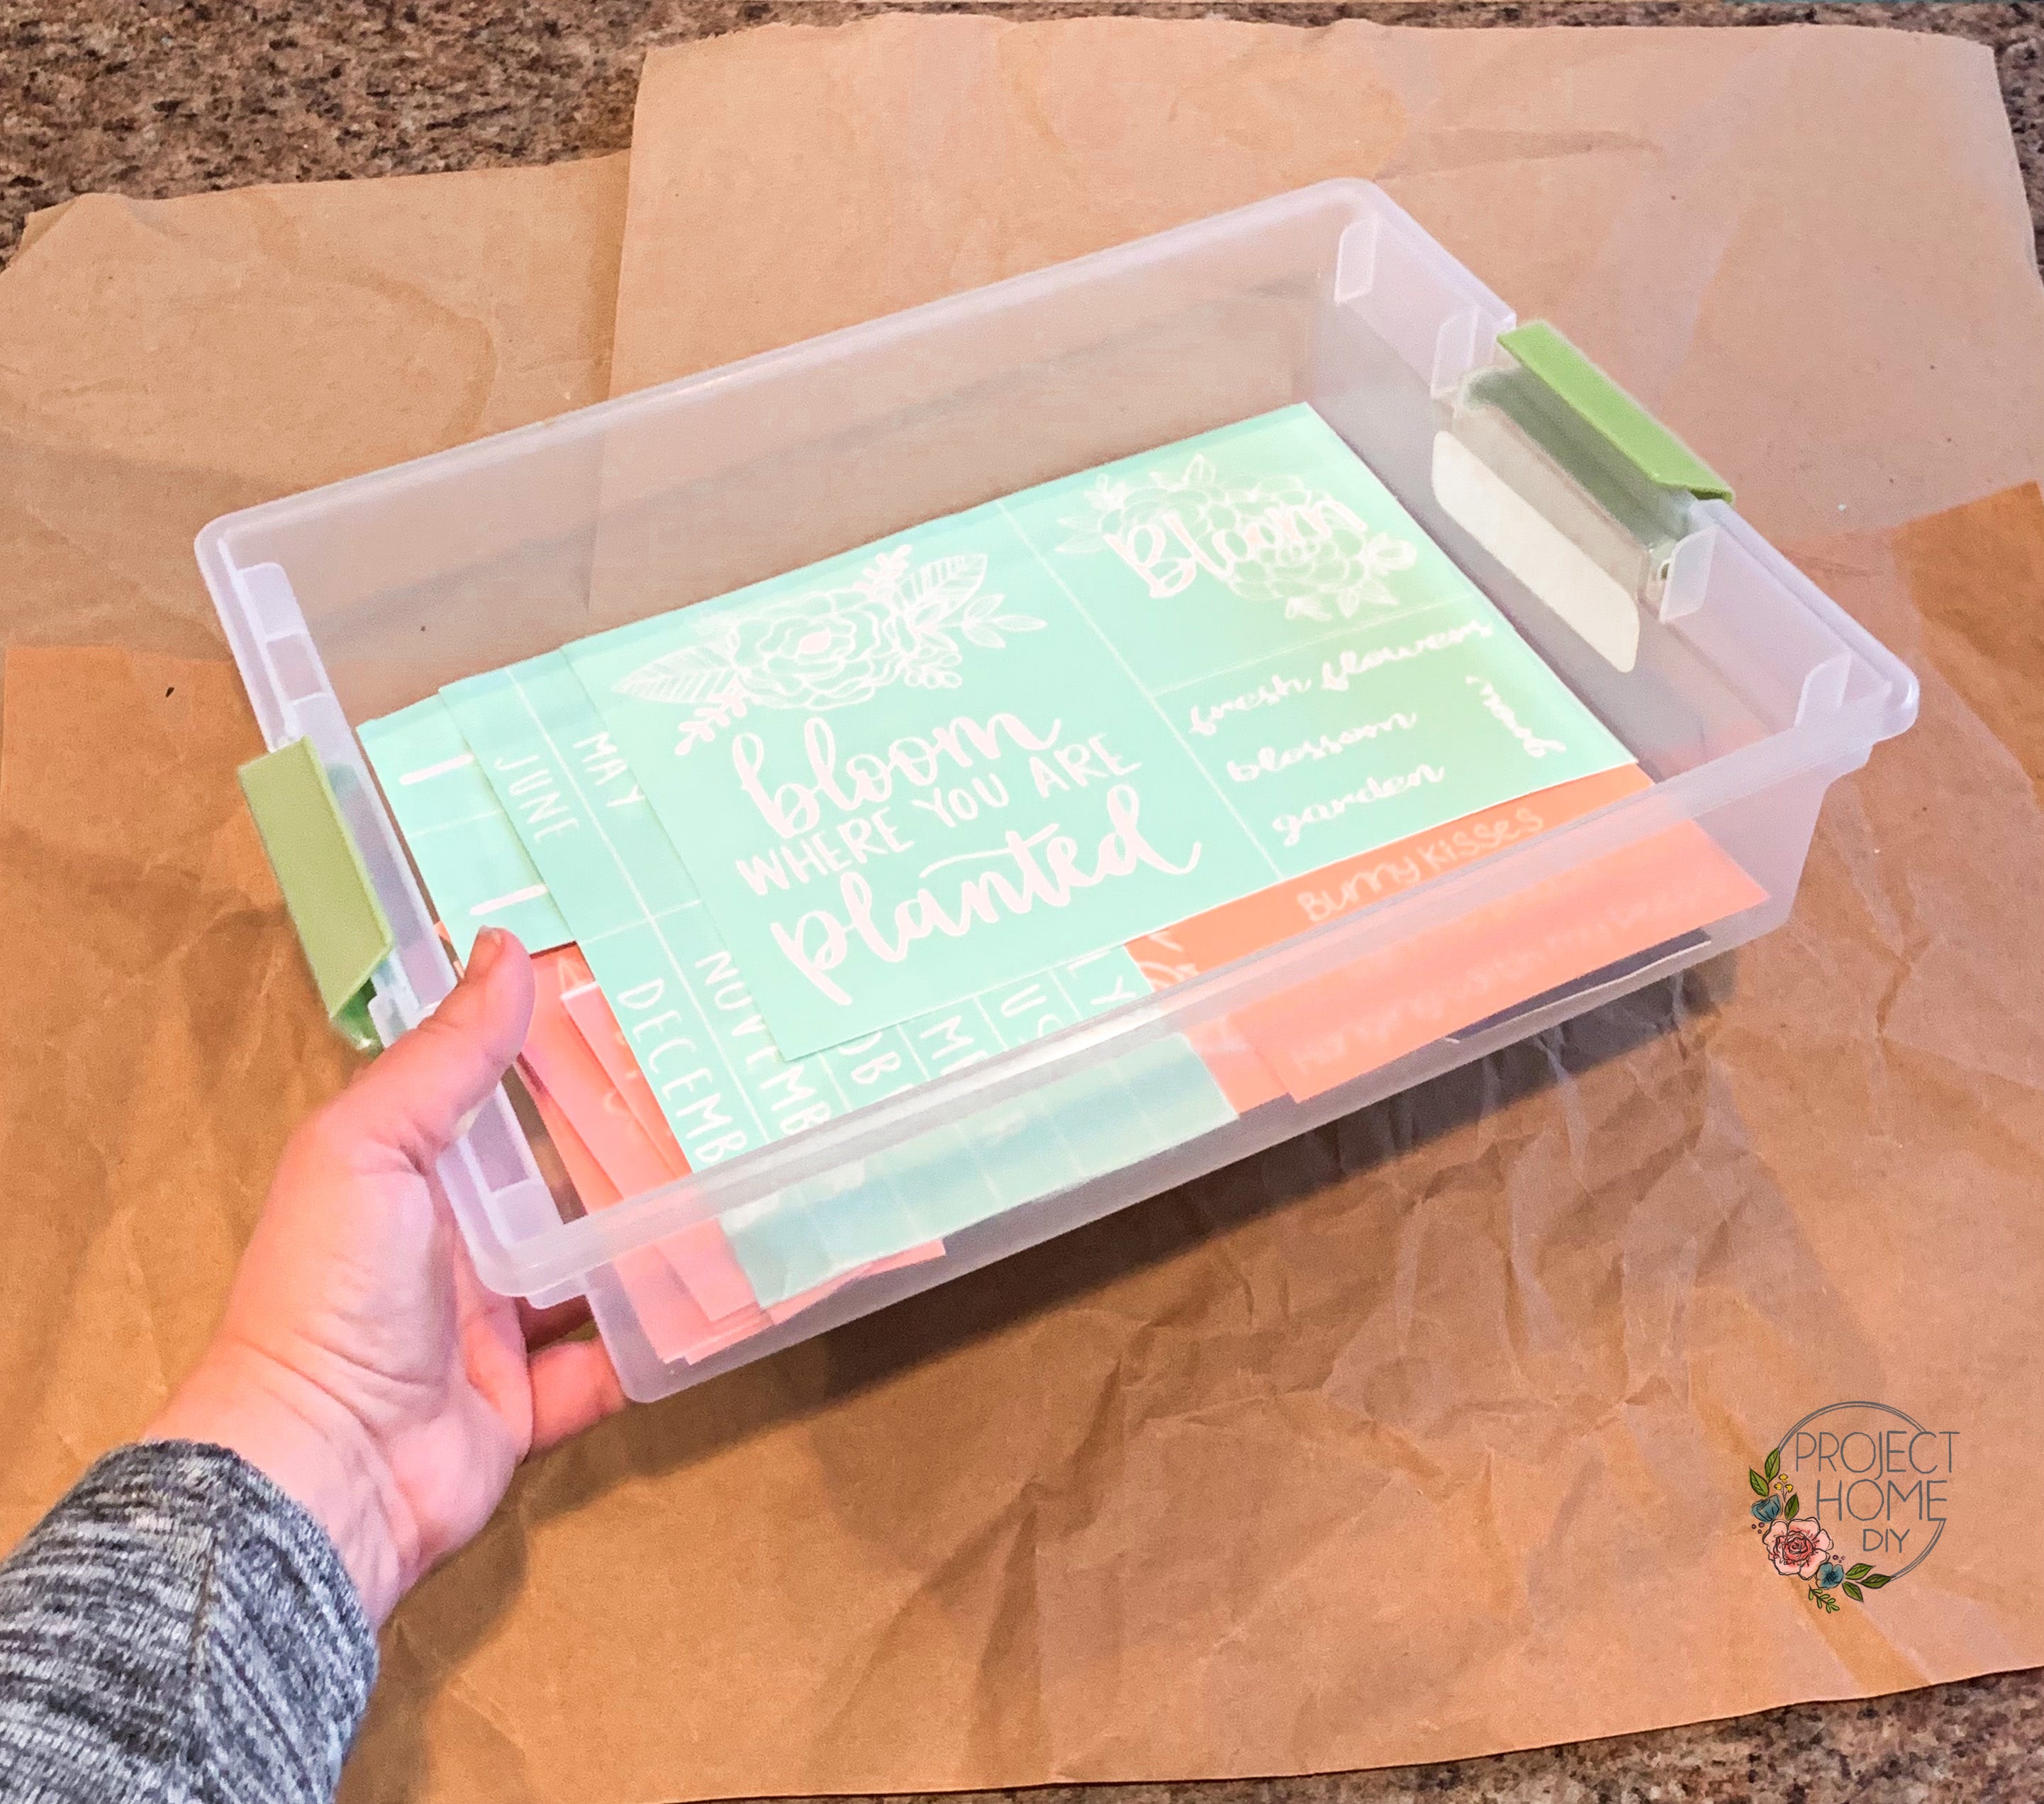
For smaller stencils:
Store them all together in a storage pouch of some kind (I found mine in the Bullseye area at Target) or a plastic storage bin like these:
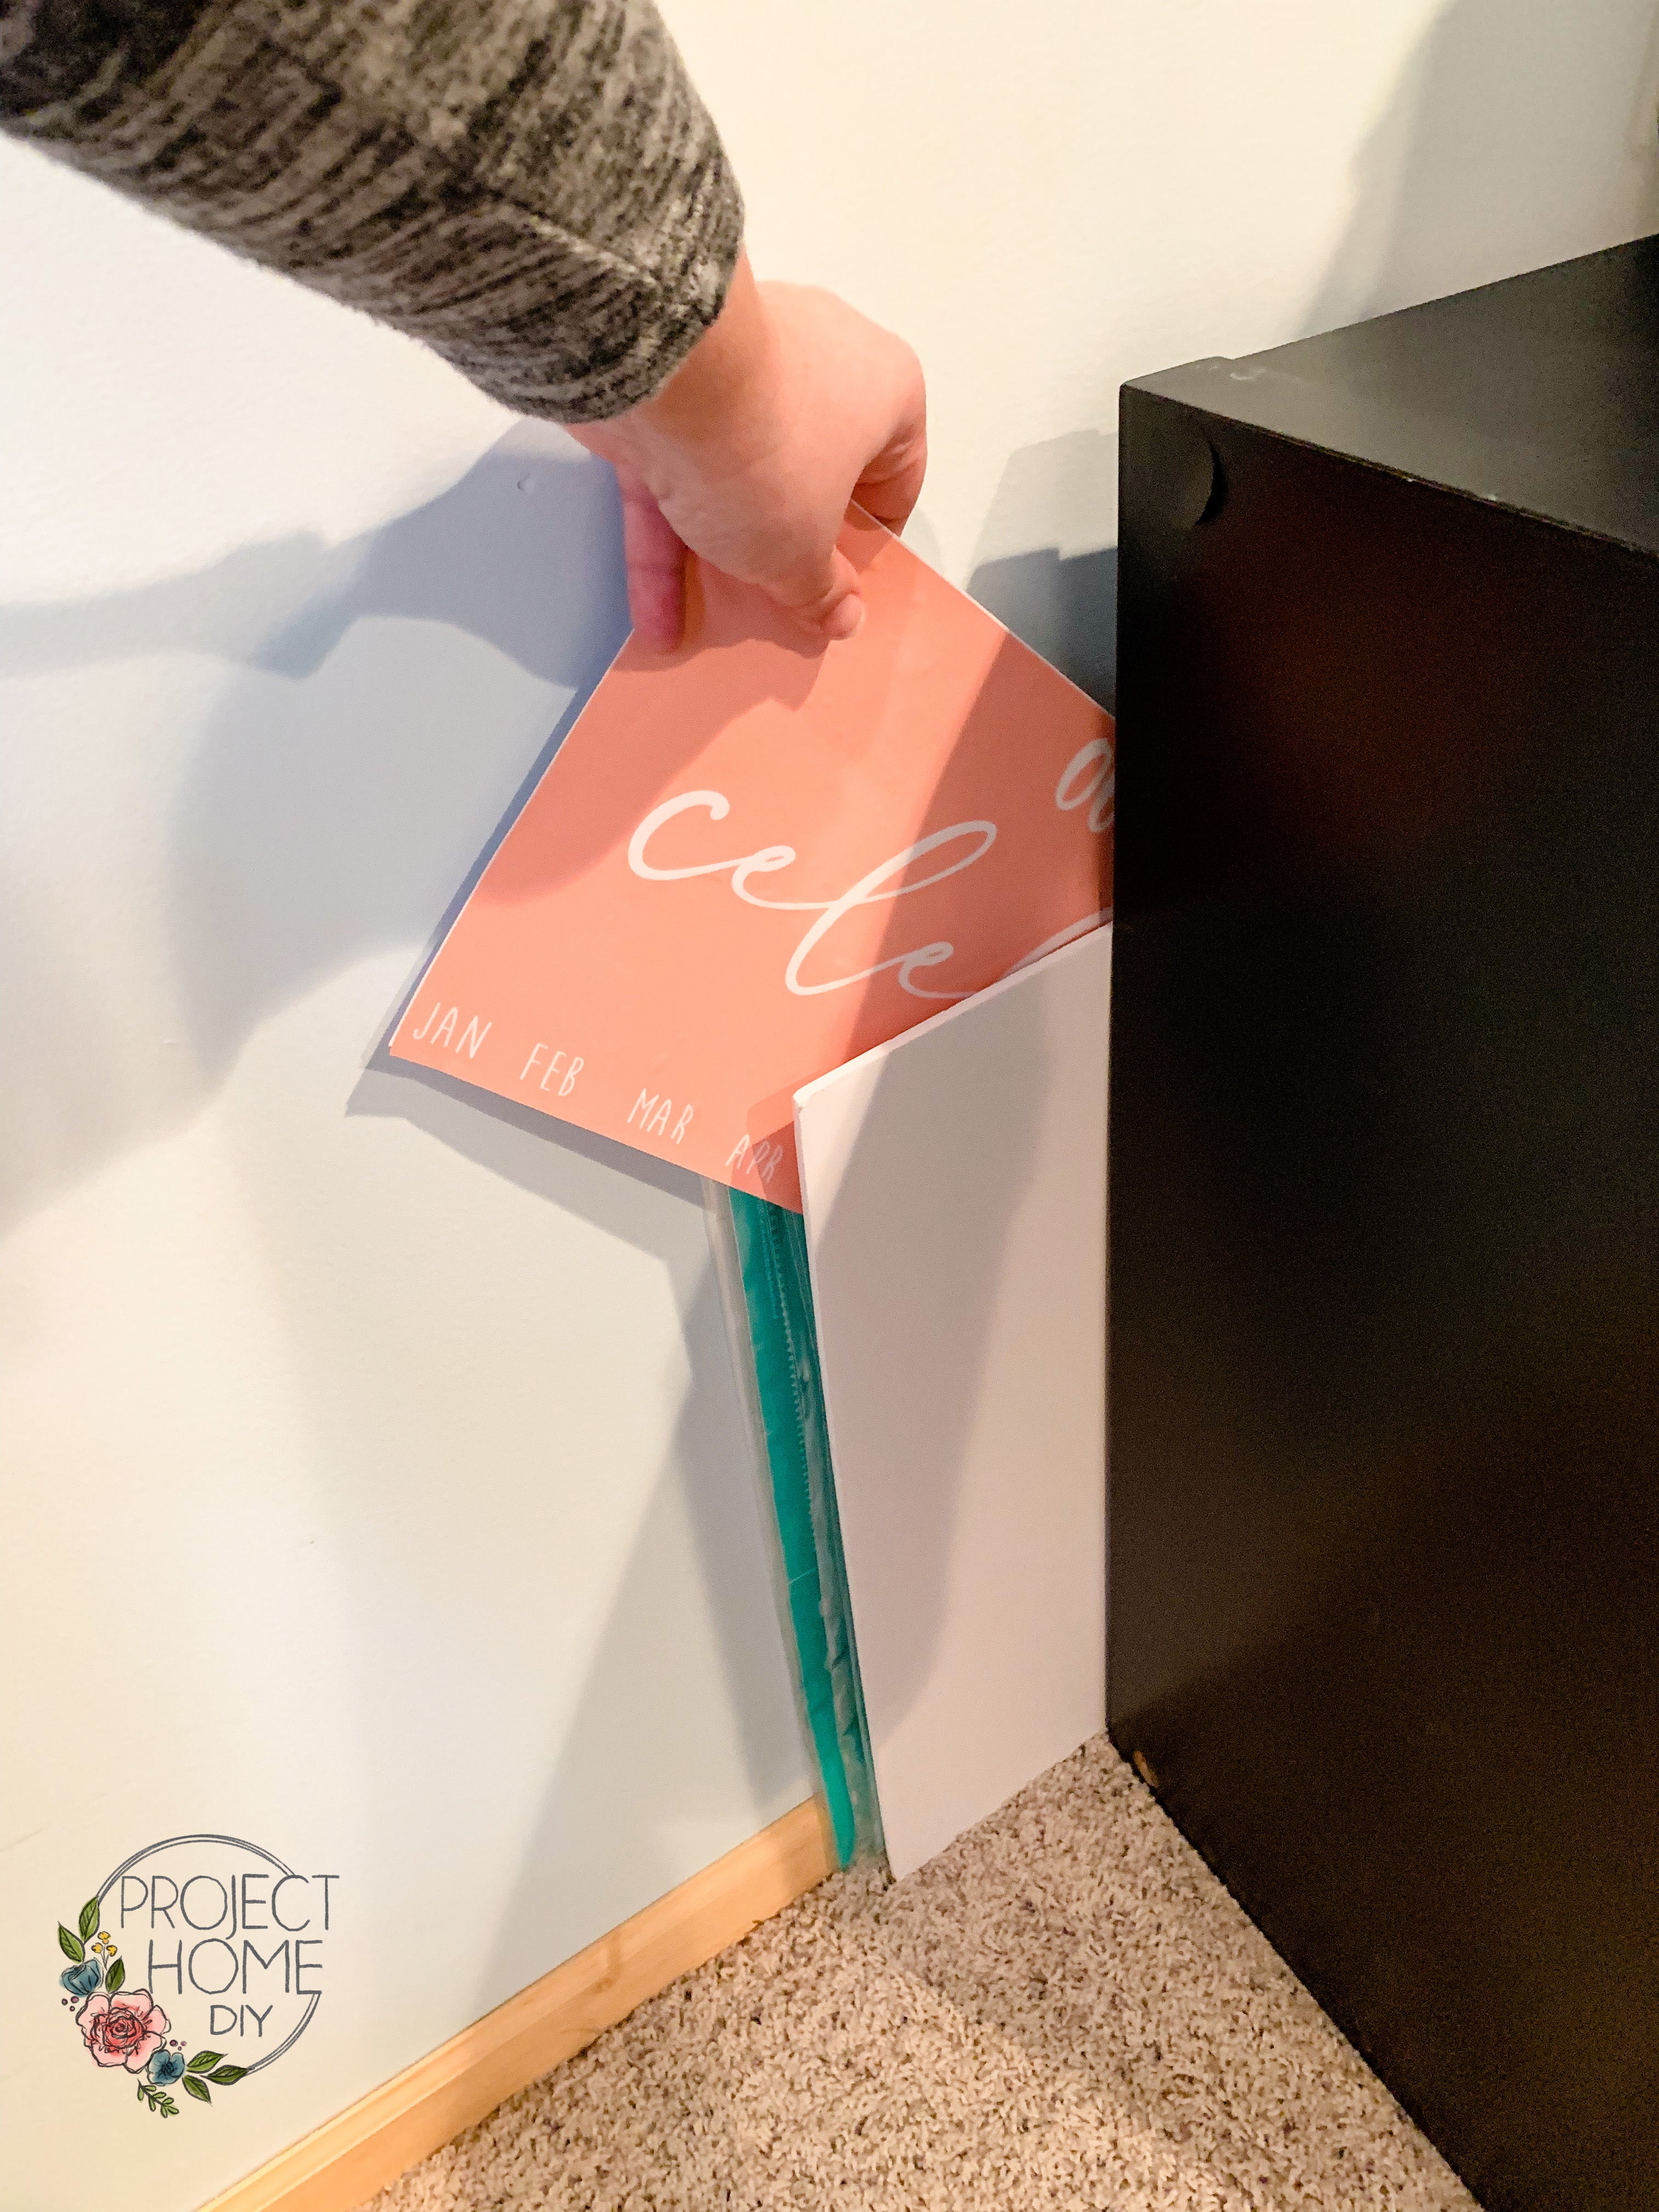
For larger stencils:
If you don't have a drawer, shelf, or good place to store them flat, store them upright against a wall between two pieces of foam core. (I have mine placed between the wall and foam core behind a low bookshelf in my craft room.)
When you've properly cleaned and stored them, caring for your mesh stencils is easy peasy! And will make them reusable for you!

Leave a comment